Getting Started
This page will tell you how to get the Arduino software installed on your computer, and run a basic program to check everything is working.
1. Downloading The Software
First, head over to the Arduino website and download the latest version of their software for your computer. They do versions for Windows, Max OS X and Linux.
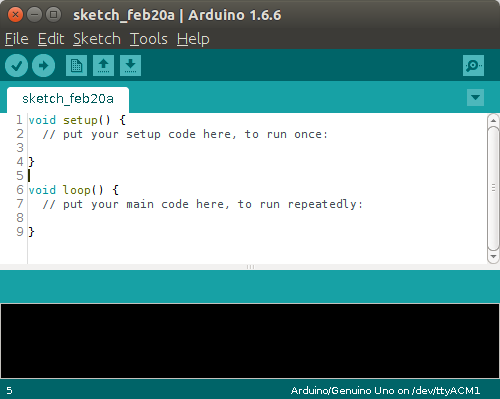
Once you have downloaded and installed the Arduino software, launch it and you should see a window like the one shown in the image below.
2. Connecting The Board
Next, we need to actually connect our Arduino Board to the computer. Use the USB cable provided, and plug it into the mini-USB port on the Arduino, and a USB port on your PC. You should see the little green LED on the board light up.
Now to set up the connection to the board. Using your Arduino software, click on the Tools menu icon, and under the Board: sub-menu, select the board you are using. For the Digimakers workshop, we are using the "Arduino Leonardo".
With the correct board selected, click again on the Tools menu, and this time click on the "Port:" sub-menu. What you will see will depend on your operating system. Windows users will see "COMX" where X is a number, while Linux users will usually see "/dev/ttyACMX". Select the first one in the list. You can try the others if the first one doesn't work in the next step.
Back on your Arduino IDE, goto the File menu and select Examples -> 01. Basics -> Blink. A new window will appear with some code already inserted. You can now click on the Upload button in the Sketch menu, or, for wizz-kids, press Ctrl-U.

1
2
3
4
5
6
7
8
9
10
11
12
13
14
15
16
// the setup function runs once when you press reset or power the board
void setup() {
// set digital pin 13 as an output.
pinMode(13, OUTPUT);
}
// the loop function runs over and over again forever
void loop() {
digitalWrite(13, HIGH); // turn the LED on (HIGH is the voltage level)
delay(1000); // wait for a second
digitalWrite(13, LOW); // turn the LED off by making the voltage LOW
delay(1000); // wait for a second
// Automatically loop back to the beginning of the loop() function.
}

Some text should fly past a the bottom of your Arduino IDE window, the last line of which will be "Upload Complete!". The yellow LED on your Arduino should now be flashing!
3. Next Steps
Now we know we can upload code to our Arduino, can you work out what our "Blink" program does, and how? We'll go over the code properly in the next section, but the more you can figure out now, the better.
In the next section, we will assemble the circuit to connect the screen to the Arduino.